Google Web Designer Review
Install Django on CentOS 6.4

Leisure Suit Larry: Reloaded Walkthrough
Install VMware Tools on CentOS 6

Jinja2 vs Tenjin: Why I moved (back) from Jinja2 to Tenjin
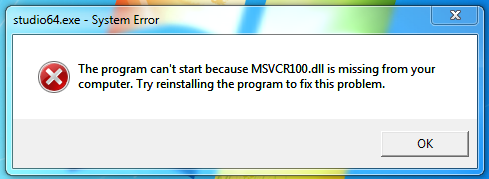
Fix MSVCR100.dll Missing Error in Windows
Disable Inactive Users in Active Directory
Install RPMForge Repository on CentOS 6
Update Git to 1.7.11+ on CentOS 6
VMware Onyx: Usage and Examples

Linux fg and bg Commands: Usage and Examples

Copy Your SSH Public Key to a Remote Server
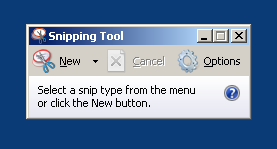
Windows 7 Screen Capture Shortcut
Windows 8 Screen Capture Shortcut
Fix UnicodeEncodeError: ASCII Codec Can't Encode Characters in Python
Python vs PyPy on CentOS: Install and Compare
