
Overview
OpenVPN ALS Adito SSL VPN Gateway is a web-based SSL-VPN server written in Java and it is completely free and open-source. The installation on CentOS 6 Linux Operating System is fairly simple using the next few steps (we will use CentOS Minimal x86_64).
Prerequisites
Another Neat Tool - ANT
“Ant is a Java-based build tool. In theory, it is kind of like Make, without Make’s wrinkles and with the full portability of pure Java code.” ```bash yum install ant
## Java JDK - Open JDK or Oracle JDK

### Open JDK

To use the open-source version of Java JDK - Open JDK: ```bash
yum install openjdk
``` Next Select this package as your default Java: ```bash
alternatives --config java
``` Select the OpenJDK: '/usr/lib/jvm/jre-1.6.0-openjdk.x86\_64/bin/java'

### Oracle JDK

1. [Download Oracle JDK x64 (not JRE)](http://www.oracle.com/technetwork/java/javase/downloads/index.html)
2. Install JDK: ```bash
rpm -Uvh jdk-\*-linux-x64.rpm
- Configure JDK: ```bash alternatives –install /usr/bin/java java /usr/java/latest/jre/bin/java 20000 alternatives –install /usr/bin/javaws javaws /usr/java/latest/jre/bin/javaws 20000 alternatives –install /usr/bin/javac javac /usr/java/latest/bin/javac 20000 alternatives –install /usr/bin/jar jar /usr/java/latest/bin/jar 20000
4. Next Select this package as your default Java: ```bash
alternatives --config java
``` Select the OpenJDK: '/usr/java/latest/jre/bin/java'

## Verify Java Version

```bash
java -version

java version "1.7.0\_21" Java(TM) SE Runtime Environment (build 1.7.0\_21-b11) Java HotSpot(TM) 64-Bit Server VM (build 23.21-b01, mixed mode)
Subversion - SVN
yum install svn
OpenVPN ALS Adito SSL VPN Gateway Installation
Download and install from SVN
cd /opt/ svn co https://openvpn-als.svn.sourceforge.net/svnroot/openvpn-als/adito/trunk /opt/openvpn-als cd /opt/openvpn-als ant install
Initial Configuration
Wait until you’ll get this notice - DO NOT PRESS CTRL+C: ```text [java] Starting installation wizard……………………Point your browser to http://localhost.localdomain:28080. [java] [java] Press CTRL+C or use the ‘Shutdown’ option from the web interface to leave the installation wizard.
Go to your browser and visit http://localhost.localdomain:28080 where localhost.localdomain is your OpenVPN ALS Adito SSL VPN Gateway host name and continue with the installation wizard.
1. First select to create a Self Signed Certificate - if you want to use a CA Certificate we will do it later: 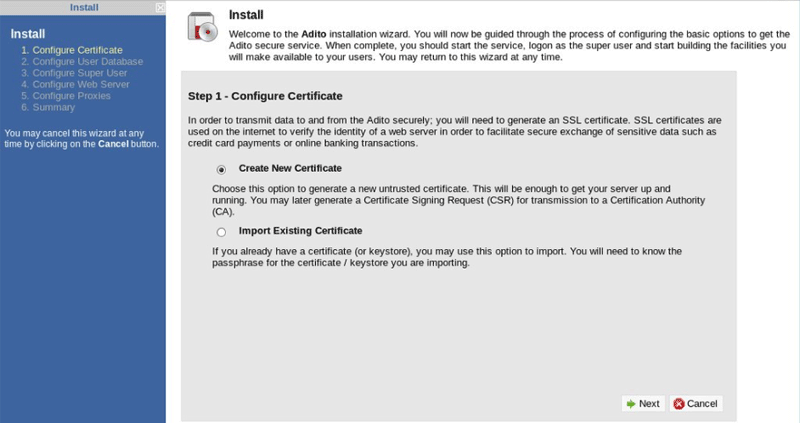
2. Fill in your pass phrase (whatever you want): 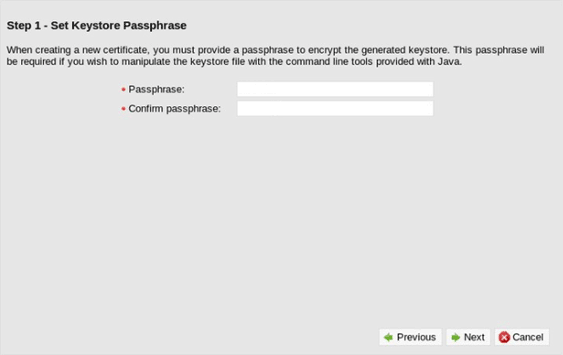
3. Input the info for your SSL Certificate: 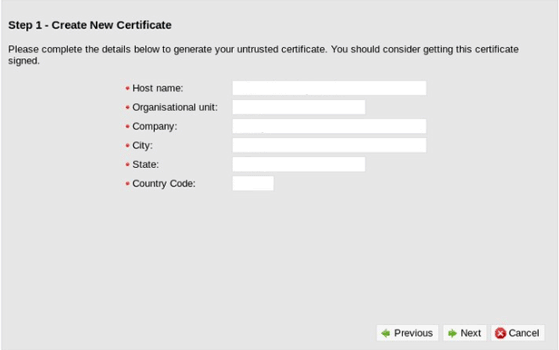
4. We will use a Built-in user database (default) if you want to use Active Directory check for instructions below. 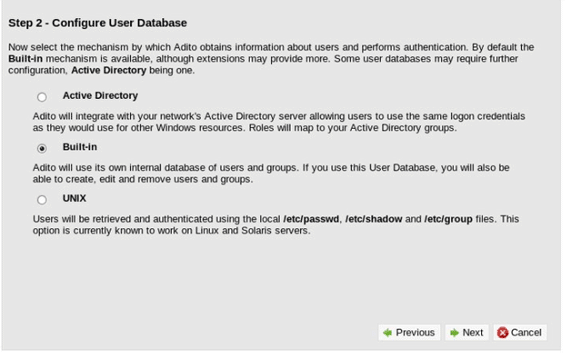
5. Select Port as 443 Select Protocol as SSL Input valid external hotnames And change Invalid hostname action to Redirect... 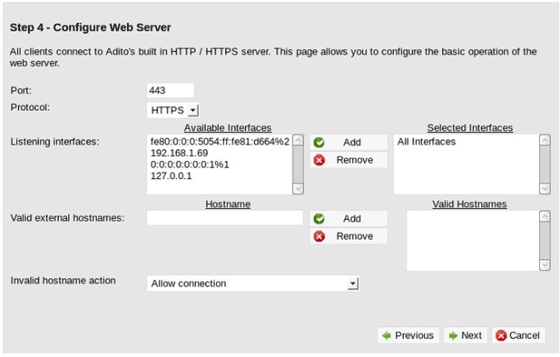
6. We will not use a proxy (default) 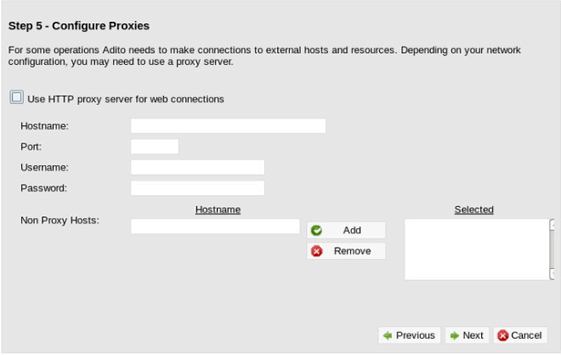
7. Click Finish 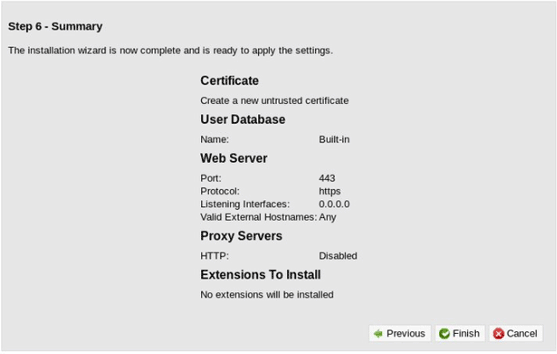
Click Exit installer and wait for it to finish its 10 second countdown. 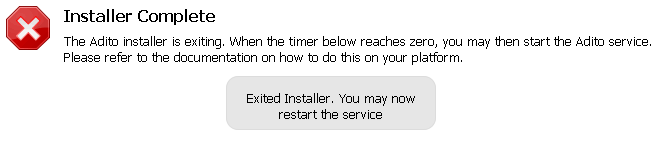
## Install OpenVPN ALS Adito SSL VPN Gateway Java Agent
**You will need to create a NEW Self Signed SSL Certificate since the bundled Agent certificate has expired and needs to be recreated.**
### Create a Certificate Key file
```bash
openssl req -nodes -newkey rsa:2048 -keyout server\_name.domain.key -out server\_name.domain.csr
Country Name (2 letter code) \[AU\]: State or Province Name (full name) \[Some-State\]: Locality Name (eg, city) \[\]: Organization Name (eg, company) \[Internet Widgits Pty Ltd\]: Organizational Unit Name (eg, section) \[\]: Common Name (eg, YOUR name) \[\]:server\_name.domain Email Address \[\]:yourname@server\_name.domain
Please enter the following 'extra' attributes to be sent with your certificate request A challenge password \[\]: (click enter, no password) An optional company name \[\]: (click enter, no password)
Use the key and csr file to generate a new Certificate - .crt file: ```bash openssl x509 -req -days 3650 -in /path/to/server_name.domain.csr -signkey /path/to/server_name.domain.key -out /path/to/selfsigned.crt openssl pkcs12 -export -in /path/to/selfsigned.crt -inkey /path/to/key-file.key -out /opt/openvpn-als/certificate/selfsigned.p12 -name selfsigned
Now we need to edit the Agent certificate.conf file: ```ini
vi /opt/openvpn-als/certificate/certificate.properties

certificate.alias=1 certificate.keystore=selfsigned.p12 certificate.storetype=pkcs12 certificate.password=ChangeSecret
Copy the new cert to /opt/openvpn-als/certificate/selfsigned.p12
Rebuild the agent: ```bash ant install-agent
## Install OpenVPN ALS Adito SSL VPN Gateway Linux Service

```bash
ant install-service chkconfig adito on service adito start
Install Applications/Extensions
Download Adito Applications from SVN: ```bash svn co https://openvpn-als.svn.sourceforge.net/svnroot/openvpn-als/adito-applications/
Create Application ZIP file (for example Cross-Platform Remote Desktop): ```bash
cd adito-aplications cd adito-application-rdp-xplatform-embedded ant
All you have to do now is copy the file to your archive folder and restart Adito: ```bash cp /opt/openvpn-als/adito-applications/adito-application-rdp-xplatform-embedded/adito-application-rdp-xplatform-embedded.zip /opt/openvpn-als/adito/conf/repository/archives/ service adito restart
## Signed CA SSL Certificates

The OpenVPN ALS Adito needs two kinds of SSL certificates:

### Web Page Signed CA Certificate

Standard SSL Certificate in P12 format.

### Agent Code Signing Signed CA Certificates

Code Signing Certificate in P12 format.

### Create SSL P12 file

First Create the combined-root-and-chain-certificate-file.ca-bundle: ```bash
cat AddTrustExternalCARoot.crt chain-file.ca-bundle > combined-root-and-chain-certificate-file.ca-bundle
Now you can create the P12 file: ```bash openssl pkcs12 -export -in /path/to/certificate-file.crt -inkey /path/to/key-file.key -out /opt/openvpn-als/certificate/newcert.p12 -name newcert -CAfile /path/to/combined-root-and-chain-certificate-file.ca-bundle -caname root -chain
### Import the New P12 Certificate for Adito Web
```bash
service adito stop cd /opt/openvpn-als/ ant install
``` Visit http://localhost.localdomain:28080 and import the New Certificate using the installation Wizard.
## Active Directory Integration
During the Installation process select Active Directory as your user database.
1. Select Active Directory: 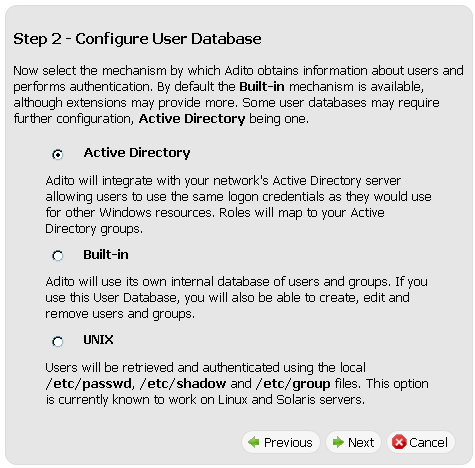
2. Fill in Domain Controller Hostname or IP address Fill in Backup Domain Controllers Hostnames or IP addresses Fill in Domain as: example.com Fill in an Active Directory username and password with account operator permissions 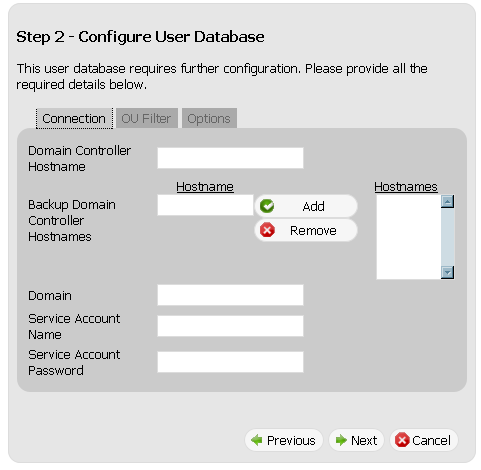
3. Select OU Filter tab Fill in the OUs containing the users you want to include, for example: cn=users,dc=domain,dc=com Fill in the OUs containing the users you want to exclude, for example: ou=nousers,dc=domain,dc=com 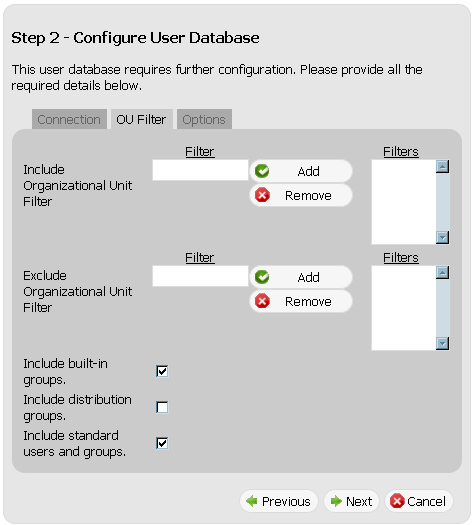
4. Select the Active Directory user to be the Adito Administrator (default is Administrator) 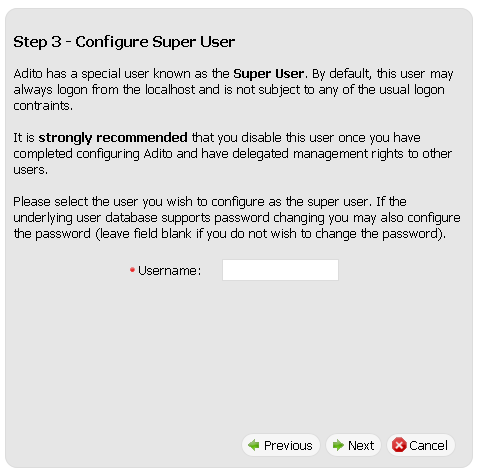
## Fix Java Permissions attribute warning
In Java 7 there is a new warning: **""This application will be blocked in a future Java security update because the JAR file manifest does not contain the Permissions attribute.""**
To solve this issue you just need to add a few lines to adito-agent/build.xml:
Find the section where the "launcher.jar" and "launcher-en.jar" jarfiles get built (starting from line 460) and add the manifest attributes at the end of the jar block as follows:
Now you need to rebuild the agent using: ```bash
ant install-agent
Enjoy.