CentOS Groovy
A beginner-friendly guide to installing the Groovy programming language on CentOS, using either GVM or manual installation.
Prerequisities
JDK
To install Groovy you have to install the JDK. If you don’t have JDK installed yet follow those instructions by RaveMaker.
Groovy Installation
There are several mothods (as always) to install groovy into your CentOS box.
Option 1: GVM
The simplest is using the GVM, tool for managing parallel Versions of multiple Software Development Kits on most Unix based systems. It provides a convenient command line interface for installing, switching, removing and listing Candidates.
GVM is a powerful tool to install Candidates and switch between them (on current terminal, or by default). reading the full intro to GVM is recommended.
to install GVM use the command:
curl -s get.gvmtool.net | bash
This will quickly install GVM into your system
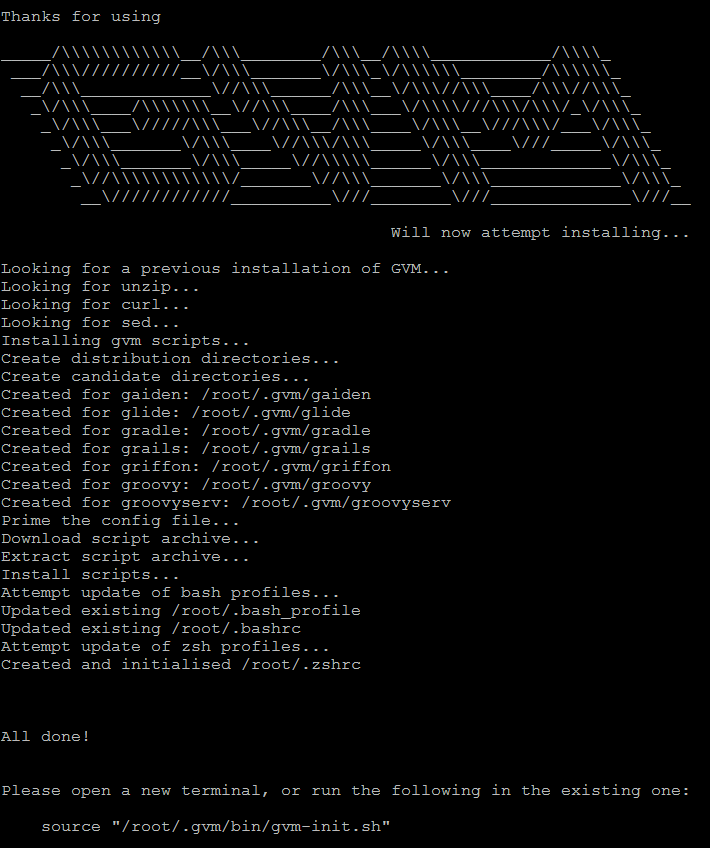
Run the following command as required or log again to the system, as GVM is adding this line to your ~/.bash_profile file:
source "/root/.gvm/bin/gvm-init.sh"
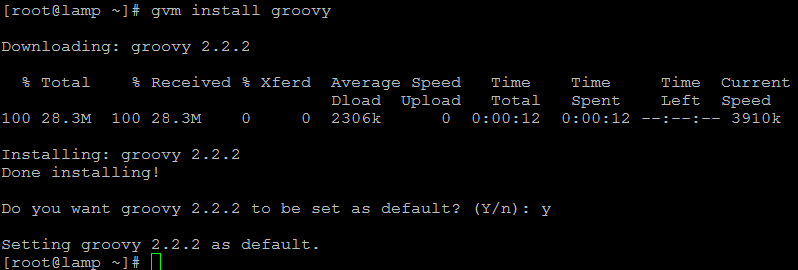
which should return nothing. now you are ready to install groovy by:
gvm install groovy
Notes:
- This will installed groovy version 2.2.2. you can use GVM to install specific groovy version, or multiple versions (read the manual).
- GVM will create the
/.gvm directory with all the assets inside (/.gvm/groovy/2.2.2).
that’s it.
Option 2: Manual Installation
It’s always recommended to manually install every peace of code to fully understand what going on there. Following the official installation guide,
Download binary
Download binary for groovy from the download page (check if there is newer version, or specific version you need other then 2.3.0-beta-2 shown here):
cd /usr
mkdir groovy
cd groovy
wget http://dl.bintray.com/groovy/maven/groovy-binary-2.3.0-beta-2.zip
unzip groovy-binary-2.3.0-beta-2.zip
rm groovy-binary-2.3.0-beta-2.zip
This will create a /usr/groovy/groovy-2.3.0-beta-2 folder with the files packed inside.
* If you don’t have wget installed use then ‘yum install wget’ command to install it. * If you don’t have unzip installed use then ‘yum install unzip’ command to install it.
TIP
Create a symlink to that folder named ’latest’ which you can change later when you’ll update your groovy installation without the need to update the environment variables.
ln -s groovy-2.3.0-beta-2 ./latest
Set-up environment
Last thing you need is to:
- set your GROOVY_HOME environment variable to the directory you unpacked the distribution
- add GROOVY_HOME/bin to your PATH environment variable
Edit your ~/.bash_profile file and append the following lines:
# Groovy
export GROOVY_HOME=/usr/groovy/latest
export PATH=$PATH:$GROOVY_HOME/bin
or, if you didn’t created the latest symlink, use:
# Groovy
export GROOVY_HOME=/usr/groovy/groovy-2.3.0-beta-2
export PATH=$PATH:$GROOVY_HOME/bin
Test Groovy
groovy -e ‘println(“Hello, World!”)’

And that’s it! You have Groovy Installed.
Cheers!,
![]() Do you need Grails framework for Groove? Read my walkthrough tutorial.
Do you need Grails framework for Groove? Read my walkthrough tutorial.