

A step-by-step guide to installing Ruby, RubyGems, SQLite, and Ruby on Rails on a fresh CentOS 6.3 minimal server.
Installation
Install Ruby
yum install ruby

yum install ruby-devel ruby-irb ruby-rdoc ruby-ri
Option 1: Install Rubygems using yum
this is the easy way. install from source if you have problems or you need the more recent rubygems version.
yum install rubygems
Option 2: Install Rubygems from sources
access the latest available gems by visiting: http://rubygems.org/pages/download.
remember to ‘yum remove rubygems’ if you’ve installed rubygems earlier using yum.
mkdir ~/src

cd ~/src

wget http://production.cf.rubygems.org/rubygems/rubygems-1.8.24.tgz

tar xzvf rubygems-1.8.24.tgz

rm rubygems-1.8.24.tgz -f

cd rubygems-1.8.24

ruby setup.rb
Update Rubygems
gem update

gem update --system
make sure you have gcc and make installed. it’s used by gem and needed to install gems like sqlite3-ruby
yum install gcc gcc-c++ make -y
Install Rails
gem install rails -V
-V for details of the process
verify with
rails --version
ERROR: Error installing rails: activesupport requires Ruby version >= 1.X.X.
If you get this error while installing rails you need to
yum remove ruby
and then install it from source (check if newer versino exist):
cd /opt yum groupinstall “development tools” wget http://cache.ruby-lang.org/pub/ruby/2.1/ruby-2.1.0.tar.gz tar -zxvf ruby-2.1.0.tar.gz cd ruby-2.1.0.tar.gz ./configure make make install
# and then some cleaning… cd .. rm ruby-2.1.0.tar.gz
You can also use easier methods like rbenv or RVM.
It will install rubygems too for you.
then try to install rails again.
That’s it!
you have ruby on rails (rails) installed!
you have gem package manager installed. you can view installed packages with:
gem list
What’s now?
Sqlite
You will probably need an sql. Rails version 2.0+ uses sqlite3 as its default database - you can, of course, use others
yum install sqlite-devel
After you have sqlite installed, install the gem with:
gem install sqlite3-ruby
Testing
to test you have installed everything as needed do the following test using irb:
irb

#irb(main):001:0> require 'rubygems'

\=> true

#irb(main):002:0> require 'sqlite3'

\=> true
Creating your First Project
Using an SQLite3 database for data storage is a zero configuration database that just works. ‘db::rake’ will create the database.
cd ~/

rails new project

cd project

rake db:create
Javascript runtime
rails default project template uses CoffeeScript. Compiling CoffeeScript to JavaScript requires a JavaScript runtime. without it running the server will return an execjs error.
Install TheRubyRacer
gem install therubyracer
Rails adds the therubyracer gem to Gemfile in a commented line for new apps and you can uncomment if you need it.
therubyrhino is the recommended runtime for JRuby users and is added by default to Gemfile in apps generated under JRuby.
also, from rails 3 you can use node.js for compiling the coffeescript.
edit the ‘Gemfile’ file inside your new project directory and uncomment (delete the #) from the line
# gem ’therubyracer’ ….
to
gem ’therubyracer’ ….
save.. and your project should now work.
Start Server
bundle install

rails server
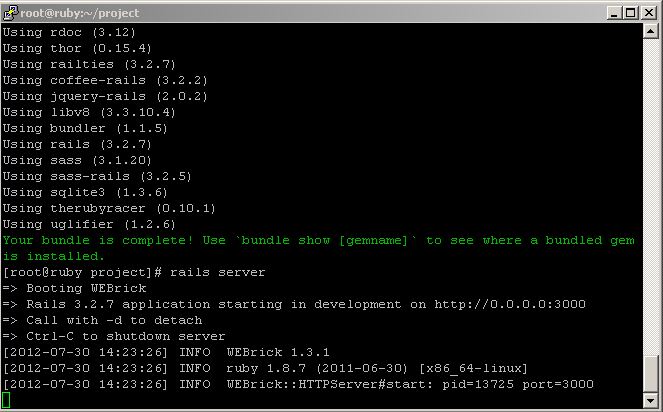
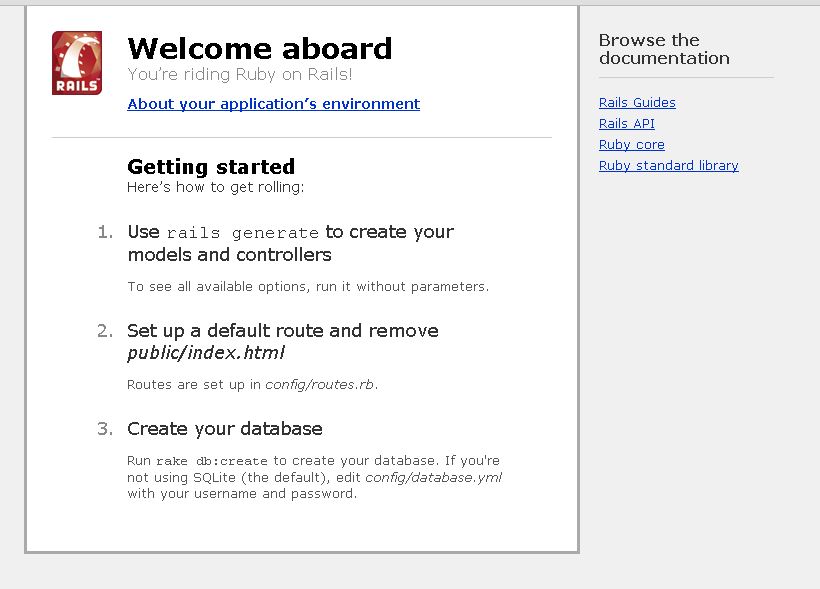
if everything correct, This will fire up WEBrick web-server (Rails can also use several other web servers like apache or nginx). To see your application in action, open a browser window and navigate to http://localhost:3000. You should see Rails default page.
Read more…
read the full ruby on rails guide: Getting Started with Rails. you have everything installed and ready for this guide :)
read more on web-servers in iTekBlog: