Android-x86 project just released Android-x86 4.0-RC1.
now you can run android on PC / Laptop.
in this article, i will explain how to easily create a USB drive to boot your computer from.
you can try a live android version from this USB (without affecting your installed OS)
and/or you could install it if you want.
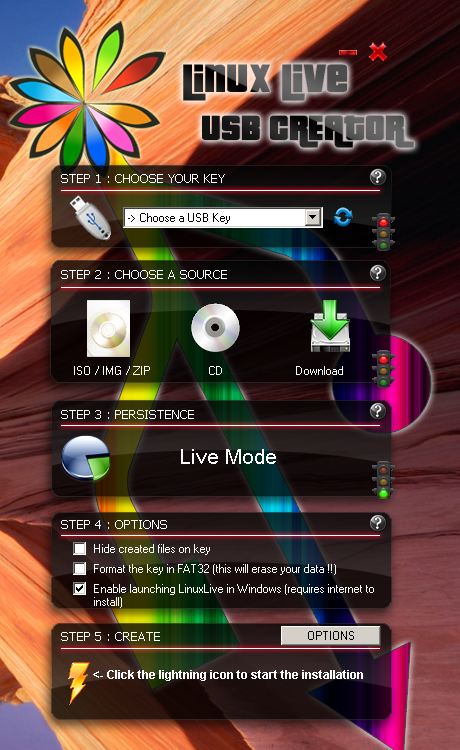
the best & easy way to do it is to download LILO USB Creator:
Download from: Download page
installing is VERY easy, just press 4 times on the NEXT button and you are there!
prerequisities: a USB flash drive. make sure you don’t need any file on this device, all will be deleted.
* the following images taken from version 2.8.12 of LILI USB Creator.

STEP 1
Choose your USB device you want to install android to. you should verify you choose the right device! choosing wrong could be result in loss of data!
STEP 2
If you already downloaded the Android-x86 4.0-RC1 file, you can press the “ISO/IMG/ZIP” button to browse for it. if you have burned it(?!) you can use the “CD” option.
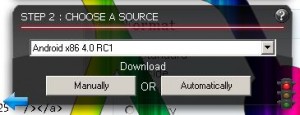
we’ll use the “Download” button now, to download android:
- press on the Download button
- select Android-x86 4.0-RC1

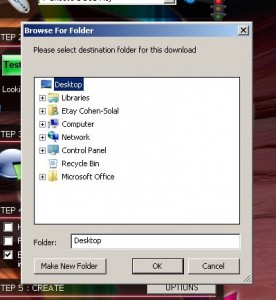
- press “Automatically”. lili will ask you for a folder, choose whetever you want.

STEP 3
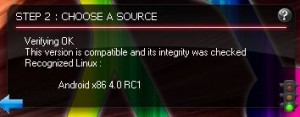
wait for the file to be downloaded:
when the green light turns on, you can go to STEP 4 below.
STEP 4
select “Format this key in FAT32” checkbox in lili Step 4 box.
STEP 5
STEP 6
Restart your PC with the USB device connected. make sure BOOTING from USB is enabled in your BIOS and the device is in priority above your local device. many modern computers allows you to select the boot device with keystroke (commonly ESC or F8 or F12) on BOOT.
enjoy Android!
Development Specialist, Artist and Activist
Personal Website


