CentOS Tomcat installation
CentOS Tomcat
centos tomcat
“Apache Tomcat is an open source software implementation of the Java Servlet and JavaServer Pages technologies. The Java Servlet and JavaServer Pages specifications are developed under the Java Community Process.” from Tomcat homepage.
Prerequisities
- CentOS 6.x (I haven’t tested this on older versions but it should probably work as well)
Check your Java installation
before we’ll continue the installation of Tomcat, the JDK (Java Development Kit) should be installed on your CentOS machine. to check for Java support use the command:
java -version
if bash returns ‘command not found‘ then continue to the next step and install the JDK, else skip the step and continue to Tomcat server installation.
Install Java Development Kit (JDK)
To install the jdk we have 2 options:
- Install OpenJDK – Using YUM.
- Install Oracle JDK – Install manually.
I’ll explore both:
Option 1: Install Open-JDK using YUM
For beginners and testing purposes you should go with this option.
Why should I use the Oracle JDK over the OpenJDK, or vice-versa? [closed]
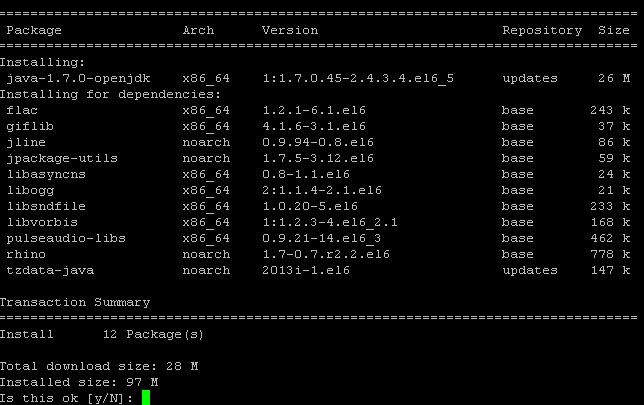
The command to install JDK using YUM is very simple:
yum install java
- Note: use sudo if you are not logged-in with root.
- the command will install the latest jdk (1.7 as for this date). If you want to install older version use the full name (search using: $ yum search jdk)
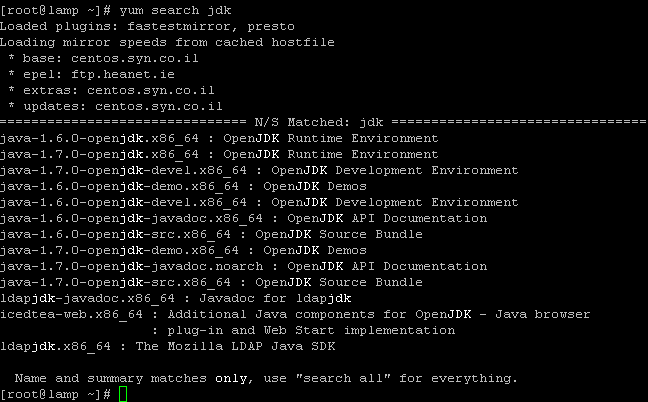
You can see you can install the 1.6 version by typing: yum install java-1.6.0
Check you have installed it right:
Option 2: Install JDK manually
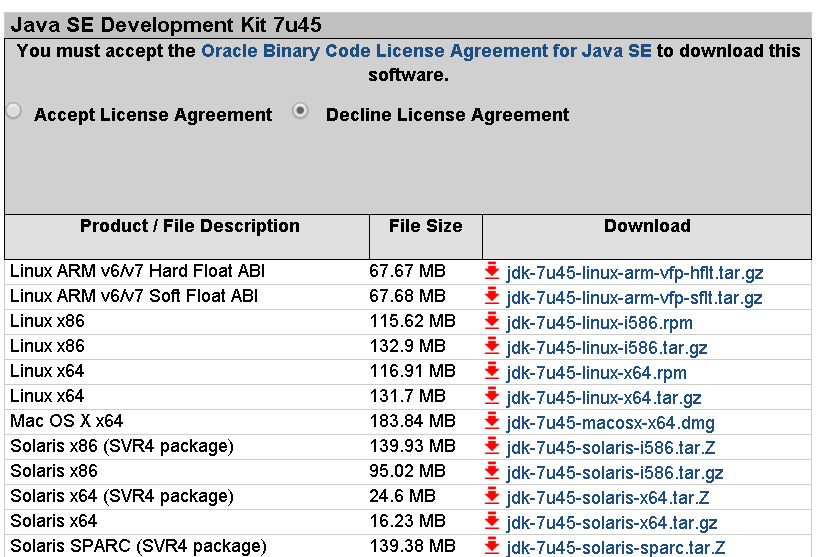
Download your required JDK here.
Note: I can’t give you an WGET command to download, because you need to Accept License Agreement before downloading any file.
You can download and install using the RPM or the tar.gz (both with x86 or x64) on your CentOS machine:
In case of our CentOS we can download and install the .rpm file or the .tar.gz file.
RPM can be installed ONLY by the root.
TAR.GZ can be installed be any user on the computer.
Option A: Install using .rpm
make sure to uninstall older installations (if any):
rpm –e <package name>
To install the jdk using the downloaded rpm use the rpm command:
rpm –ivh jdk-7u45-linux-x64.rpm
If you just want to upgrade a package you’ve already installed use the -Uvh parameter.
rpm –Uvh jdk-7u45-linux-x64.rpm
Delete the .rpm file if you want to save disk space.
Read more about installation of Oracle Java on Centos here on ItekBlog
Use alternatives :
alternatives –install /usr/bin/java java /usr/java/latest/jre/bin/java 20000
alternatives –install /usr/bin/javaws javaws /usr/java/latest/jre/bin/javaws 20000
and config your default jdk (if you have more then one) using:
using:
alternatives –config java
Test your environment
Just as in the first step: type java -version to see if your have jdk installed.
Option B: Install using tar.gz
The advantage of tar.gz installation of the JDK is that we can able to install multiple version of java if required.
The archive can be installed by anyone (not only root users), in any location that you can write to. However, only the root user can install the JDK into the system location.
You need to unpack the .tar.gz file (using tar -xzf) into the the location where you would like the JDK to be installed.
Unpack the tarball and install the jdk:
tar zxvf jdk-7u<version>-linux-i586.tar.gz
Delete the .tar.gz file if you want to save disk space.
Use alternatives :
alternatives –install /usr/bin/java java /path/to/jdk1.7.0_45/bin/java 2
alternatives –config java
read more about installation of jdk in the oracle documentation.
for extended installation tutorial read this post by adam in this blog.
JDK 1.6 vs JDK 1.7
read more on What is the difference between jdk 1.6 and 1.7 ?
Environment Variables
1 | JAVA_HOME |
is a
1 | environment |
variable (in Unix terminologies), or a PATH variable (in Windows terminology) you need to create to point to where Java is installed. ($JAVA_HOME/bin/java should execute the Java runtime).
To set it for your current session type at bash:
export JAVA_HOME=/usr/java/jdk1.7.0_05
export PATH=$PATH:$JAVA_HOME/bin
To set the JAVA_HOME permanently we need to add the commands to the ~/.bash_profile file of the user.
We can also add it /etc/profile and then source it to give to all users.
Test Environment Variables
use the echo command to check you’ve configured the variables:
echo $JAVA_HOME
echo $PATH
Installing Tomcat
After we have java installed and tested we can continue to the installation of the Tomcat server.
Download Tomcat
Since Apache Tomcat is distributed as binaries, all you have to do is to download it and start it.
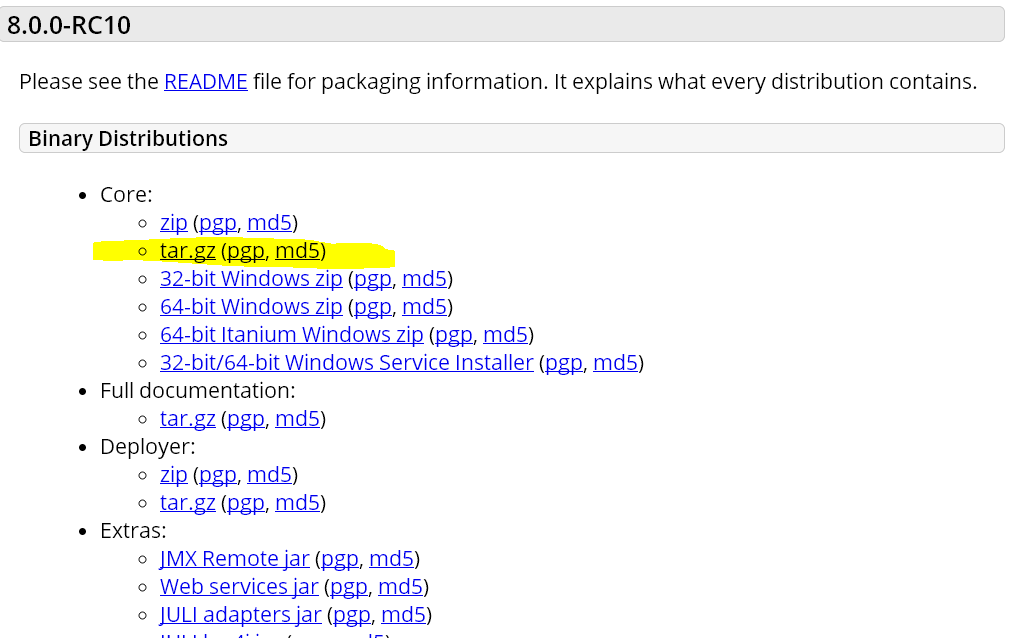
Download apache-tomcat-x.x.xx.tar.gz (latest version or any) from Apache Tomcat Homepage
- For Apache Tomcat 8 you can directly go here and download your desired version.
- For Apache Tomcat 7 you can directly go here and download your desired version.
- For Apache Tomcat 6 you can directly go here and download your desired version.
I’ll go with the tomcat 8 – tar.gz package.
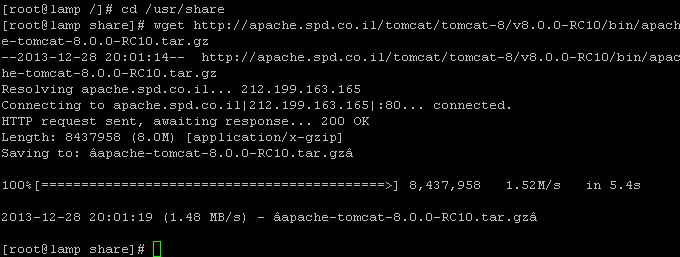
and using command:
cd /usr/share
wget http://apache.spd.co.il/tomcat/tomcat-8/v8.0.0-RC10/bin/apache-tomcat-8.0.0-RC10.tar.gz
verify and extract the download using::
md5sum apache-tomcat-8.0.0-RC10.tar.gz
tar xvzf apache-tomcat-8.0.0-RC10.tar.gz
and I have a /usr/share/apache-tomcat-8.0.0-RC10 folder now.
Test Tomcat server
Tomcat by default start on port 8080 you can start the server now by typing at bash:
cd apache-tomcat-8.0.0-RC10
./bin/startup.sh
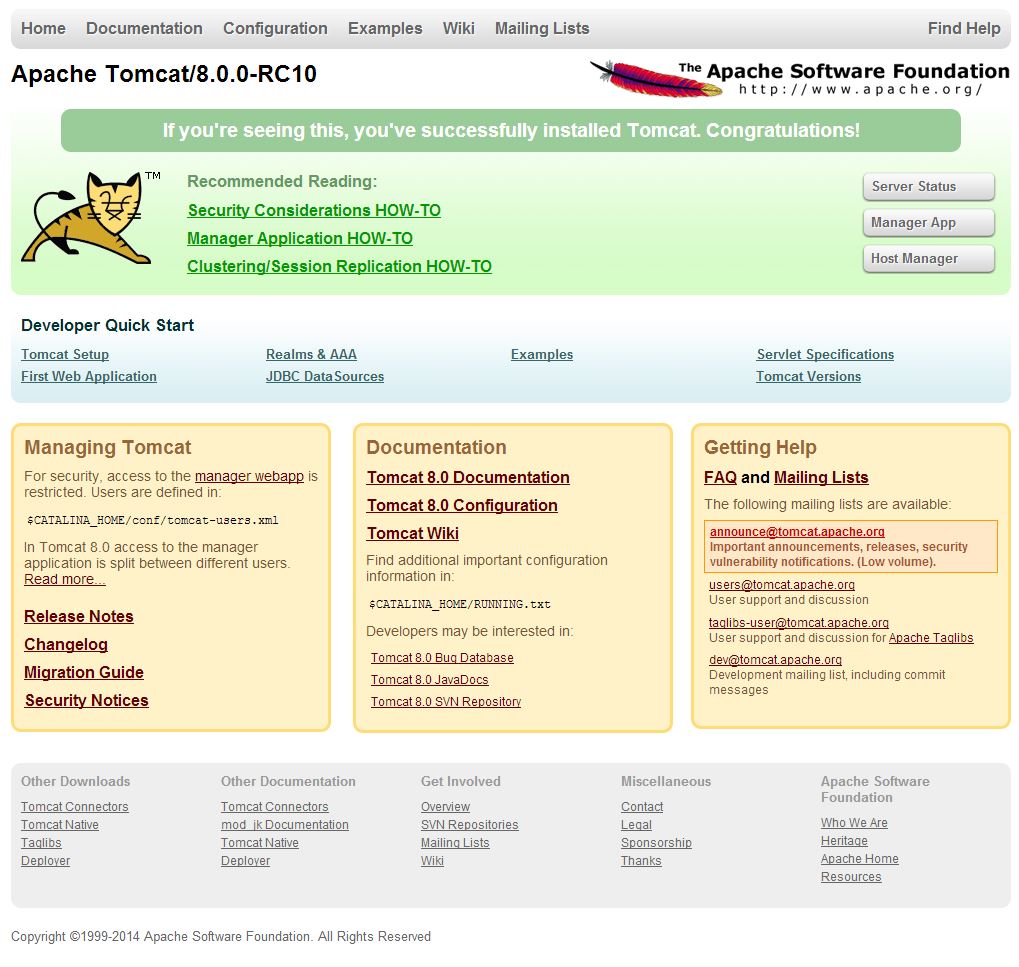
Now Access the tomcat by connecting your server with a web browser on port 8080.
http://localhost:8080
If you cannot access the above Tomcat page, make sure to stop iptables (since CentOS has iptables on by default set to block the Tomcat’s default listening port 8080).
service iptables stop
to permanently disable iptables (NOT RECOMMENDED AT ALL) use:
chkconfig iptables off
Change the Tomcat server port
Locate server.xml in {Tomcat installation folder}/conf/ which is at /usr/share/apache-tomcat-8.0.0-RC10/conf in our case
Find the following:
 <!-- Define a non-SSL HTTP/1.1 Connector on port 8180 -->
    <Connector port="8080" maxHttpHeaderSize="8192"
               maxThreads="150" minSpareThreads="25" maxSpareThreads="75"
               enableLookups="false" redirectPort="8443" acceptCount="100"
               connectionTimeout="20000" disableUploadTimeout="true" />
and change the 8080 port to your required port.
Start on boot
To start the tomcat service on system boot create the file /etc/init.d/tomcat8 (I am using vi /etc/init.d/tomcat8) and fill it with:
#!/bin/bash
# description: Tomcat Start Stop Restart
# processname: tomcat
# chkconfig: 234 20 80
JAVA_HOME=/usr/java/jdk1.7.0_05
export JAVA_HOME
PATH=$JAVA_HOME/bin:$PATH
export PATH
CATALINA_HOME=/usr/share/apache-tomcat-8.0.0-RC10

case $1 in
start)
sh $CATALINA_HOME/bin/startup.sh
;;
stop)
sh $CATALINA_HOME/bin/shutdown.sh
;;
restart)
sh $CATALINA_HOME/bin/shutdown.sh
sh $CATALINA_HOME/bin/startup.sh
;;
esac
exit 0
Now set the permissions on the file and the catalina.sh file:
chmod a+x /etc/init.d/tomcat8
chmod a+x /usr/share/apache-tomcat-8.0.0-RC10/bin/catalina.sh
to start/stop/restart the service use:
service tomcat8 start
service tomcat8 restart
service tomcat8 stop
to start the service on boot use:
chkconfig --add tomcat8
chkconfig tomcat8 on
to disable it later you can use off instead of on:
chkconfig tomcat8 off
That’s it! you have your CentOS Tomcat server working and runing…


